Introduction:
Welcome, lovers of plants! If you’re a proud philodendron parent, then you know just how rewarding it is to care for these colorful and vibrant beauties. Eventually, you’ll need to repot your philodendron plants as they outgrow their pots. In this guide, we’ll show you through each stage of how to repot your philodendron plants.
We can help you with everything, from spotting the signs that it’s time for a change to giving you clear steps on how to give your green friend a new beginning.
Philodendrons are tough and can handle being moved around, but they still need some care now and then to stay healthy. As the plant gets bigger, it can outgrow its pot, which can cause its roots to get trapped in the pot and slow down its growth.
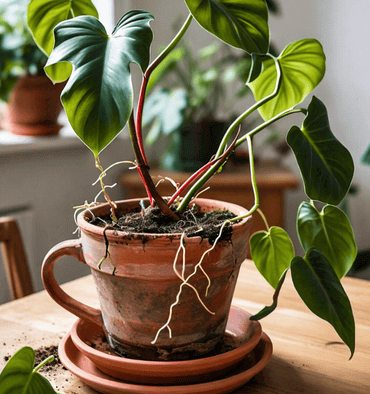
One of the most important signs that a philodendron needs replanting is when you notice roots coming out of the drainage holes in the bottom of the pot or twisting around the root ball. This means your plant has exhausted itself and needs a larger container.
Replanting a philodendron not only gives it more room for its roots, but also refreshes the soil and provides essential nutrients for healthy growth. In addition, replanting allows you to control root disease or rot and ensure that the plant remains happy and healthy.
If you plant it correctly and use good soil, you can revive your philodendron and bloom next season. Remember, a well cared for plant is a happy plant!
Signs that your philodendron plant needs repotting

Is your philodendron plant looking a bit cramped in its current pot? Are the roots starting to peek out from the drainage holes? These could be signs that your beloved plant is in need of repotting.
Another indication that it’s time for repot philodendron plants is if you notice slow growth or yellowing leaves, despite regular care. This may mean that the nutrients in the soil are depleted, and the plant needs more space to thrive.
If you see roots circling around the surface of the soil or pushing against the pot walls, it’s definitely time for some transplanting action. Repot philodendron plants provides the room they need to spread their roots and grow vigorously.
Keep an eye out for water draining too quickly through the bottom of the pot or sitting on top of compacted soil. These issues can suggest poor drainage and root congestion, impeding healthy growth.
If your philodendron has been in its current pot for several years without any changes, it probably wants fresh soil and increased space to continue flourishing.
Steps for repotting a philodendron plant:
When repot Philodendron plants, several important steps must be followed for a successful transplant.
Choose a new pot that is slightly larger than the current one to give you room to grow. Make sure there are drainage holes in the bottom of the pot so the water doesn’t get wet.
Next, prepare a well-draining potting mix suitable for philodendrons. It contains peat, perlite, and pine bark, which let air pass through and hold in moisture.
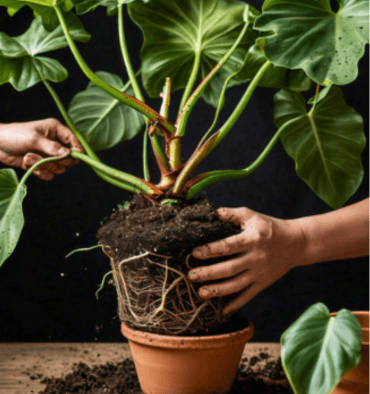
Gently press the edges of the pot. plant and release the root to remove it from the current container. Be careful not to damage the roots during this process.
Check for root rot or disease by cutting dead or tangled roots with clean shears. This step helps promote healthy growth in the new environment.
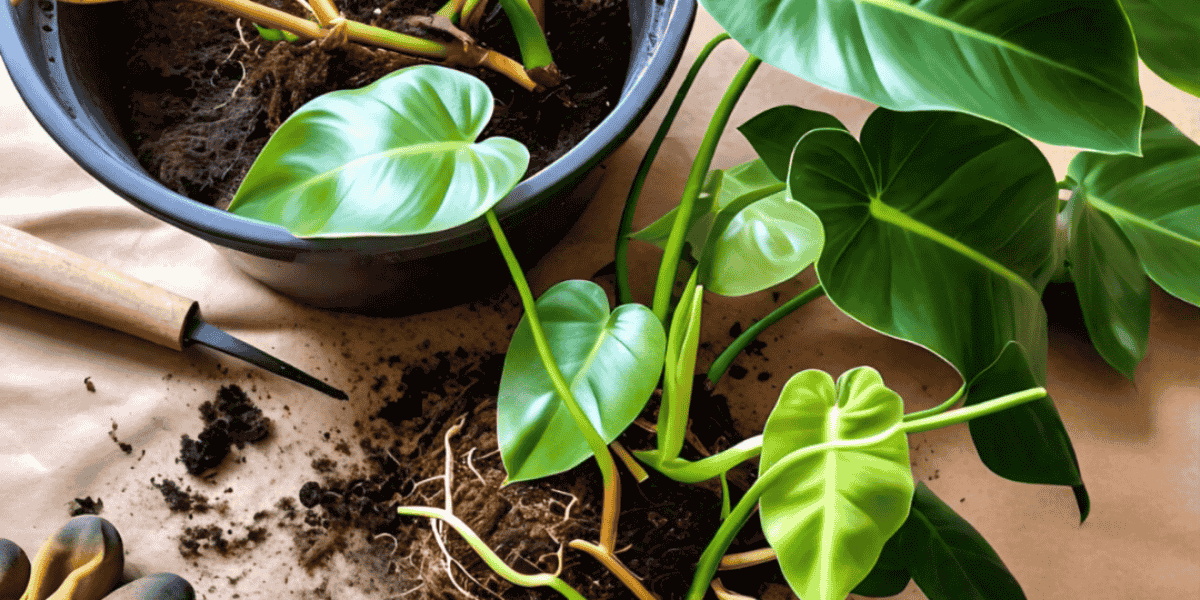
Place the philodendron in the new container, making sure it is at the same depth as before. Fill the fresh mixture around the roots and tap it down a little to secure.
By following these instructions carefully, you can ensure a smooth transplant process for your beloved philodendron plant!
A. Choosing the right pot and soil
When transplanting a philodendron plant, choosing the right pot and soil is important for its growth and health.
First, choose a pot that is one size larger than the current one, so that the plant’s roots have room to expand. To prevent water from clumping up, make sure the bottom of the new pot has drainage holes.
Next, choose a well-draining potting mix designed specifically for tropical plants like philodendrons. The use of a blend of peat, perlite and bark promotes good ventilation and moisture retention.
Heavy or dense soil can result in root rot or even death of the plant’s roots, which should be avoided at all costs. Look for a light mix that promotes healthy root development.
B. Preparing the new pot and soil
In the case of a philodendron plant repotting, it is essential to prepare the new pot and soil for its growth.
First, choose a slightly larger pot than the current one to give the roots room to expand. Make sure the bottom of the new pot has drainage holes to prevent the water from getting wet, which can lead to root rot.
Next, choose a well-draining potting mix designed specifically for indoor plants like philodendrons. It is not advisable to use garden soil as it can stick to pots too tightly and cause drainage issues.
Before replanting, disinfect the new pot with mild soap and water to remove any pathogens that could harm the philodendron. Rinse thoroughly and allow to dry completely before adding soil.
Fill the bottom of the new pot with fresh soil, leaving enough space for the root of your plant.Let some of the roots be loose before moving the philodendron to its new home.
Add more soil around the edges of the root ball until it is firmly in place. Tamp lightly to remove air pockets, but be careful not to over-compact the soil. Your philodendron will thank you for providing a clean and spacious environment in which to thrive!.
C. Removing the plant from its current pot
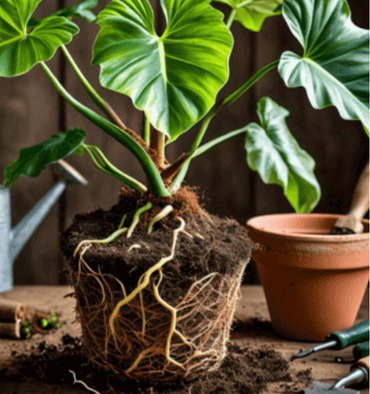
Carefully loosen the soil around the edges of the pot to give some wiggle room for the plant. Gently tilt the pot sideways while supporting the base of the plant with your hand.
Avoid pulling on the stems or leaves, as this may damage them. Instead, hold onto the base of the plant and gently ease it out of its current pot.
If you encounter resistance, use a clean knife or trowel to help separate any roots that are stuck to the sides of the pot. Be patient and gentle to avoid harming your philodendron.
Once you have successfully removed the plant from its old home, take a moment to inspect its root system. Look for any signs of rotting or overcrowding, which may indicate that repotting was necessary.
By taking your time and being gentle during this step, you ensure that your philodendron has a smooth movement to its new environment without causing unnecessary stress.
D. Pruning and checking for root rot

When repotting your philodendron plant, it’s essential to check for any signs of root rot. Begin by carefully inspecting the roots for mushy or discolored sections, indicating potential issues with overwatering or poor drainage.
To address root rot, gently prune away any damaged roots using clean and sharp scissors. Trim back any dead or unhealthy foliage as well to promote new growth and overall plant health.
Ensure that you are thorough in this process, as healthy roots are crucial for the philodendron’s ability to absorb nutrients and water efficiently. By pruning and removing affected areas, you can help prevent further spread of root rot within the plant.
After pruning, take a moment to assess the overall health of your philodendron before proceeding with repotting. Healthy roots are key to a successful transplant and continued growth in its new pot.
E. Placing the plant in the new pot and filling with soil

Now comes the exciting part of placing your philodendron plant in its new home! Carefully lift the plant out of its old pot and gently place it in the center of the new one. Make sure to position it at the same depth as it was in the previous pot.
Once your plant is snugly settled, begin filling the empty spaces with fresh potting soil. Use a high-quality, well-draining mix to ensure optimal growth for your philodendron. Gently pat down the soil around the roots to provide stability without compacting it too tightly.
As you fill up the pot, periodically tap on its sides to help settle the soil and eliminate air pockets. This will give your plant’s roots room to spread and take hold in their new environment. Top off with a light layer of mulch or decorative stones for that perfect finishing touch!
Remember, repotting can be a great way to show love and care for your philodendron by giving it more space and nutrients to thrive. Enjoy watching your plant flourish in its freshly potted home!
Frequently Asked Questions
1: How often should I repot my philodendron plant?
A: Philodendrons typically need to be repotted every 1-2 years, or when you notice the roots becoming root-bound.
2: Can I use regular potting soil for my philodendron?
A: Using a well-draining potting mix specifically designed for indoor plants like philodendrons is best. A mix of peat moss, perlite, and bark works well.
3: Do I need to water my philodendron right after repotting?
A: It’s recommended to wait a week before watering your newly repotted plant to allow the roots time to adjust and avoid potential issues with overwatering.
4: What type of soil is best for philodendrons?
A: A well-draining mix of potting soil, peat moss, and perlite is ideal.
5: Can I repot my philodendron during winter?
A: It’s best to repot during the growing season (spring or early summer) for optimal recovery.
6: How do I know if my philodendron needs repotting?
A: Signs include roots outgrowing the pot, soil drying out quickly, or slowed growth.

